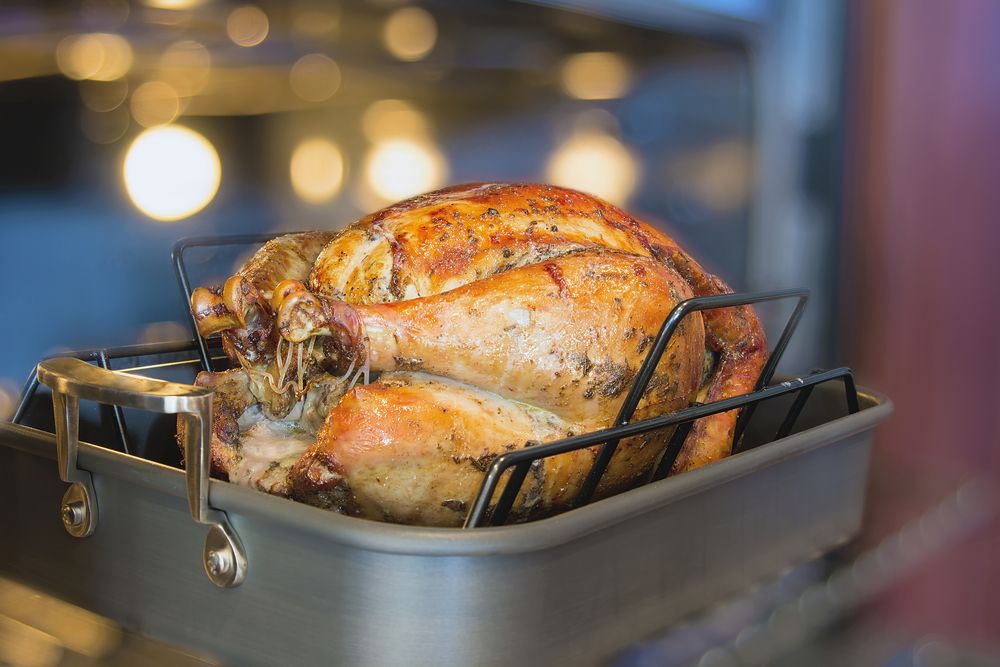
Preparing a turkey for Thanksgiving is no small feat. From selecting the right size for your gathering to ensuring it’s flavorful and juicy, there are plenty of challenges to tackle—especially avoiding the dreaded dry turkey. One tried-and-true method to ensure a moist, flavorful bird is brining. But what exactly does it involve, and how can you do it right?
Brining is the process of soaking the turkey in a saltwater solution, which not only infuses the meat with seasoning but also alters its protein structure. This change helps the turkey retain more moisture during cooking, resulting in a juicier, more flavorful centerpiece for your holiday table. Unlike surface seasoning, which only impacts the outer layers, brining permeates the entire bird, delivering even seasoning and succulence. While optional, this simple step can elevate your turkey from ordinary to unforgettable.
Brining a turkey for the first time—or preparing one for a large gathering—can feel a bit overwhelming. To make it easier, we turned to expert chefs for their best tips and tricks. Keep reading to discover how to brine your Thanksgiving turkey like a seasoned pro.
Thaw the turkey.
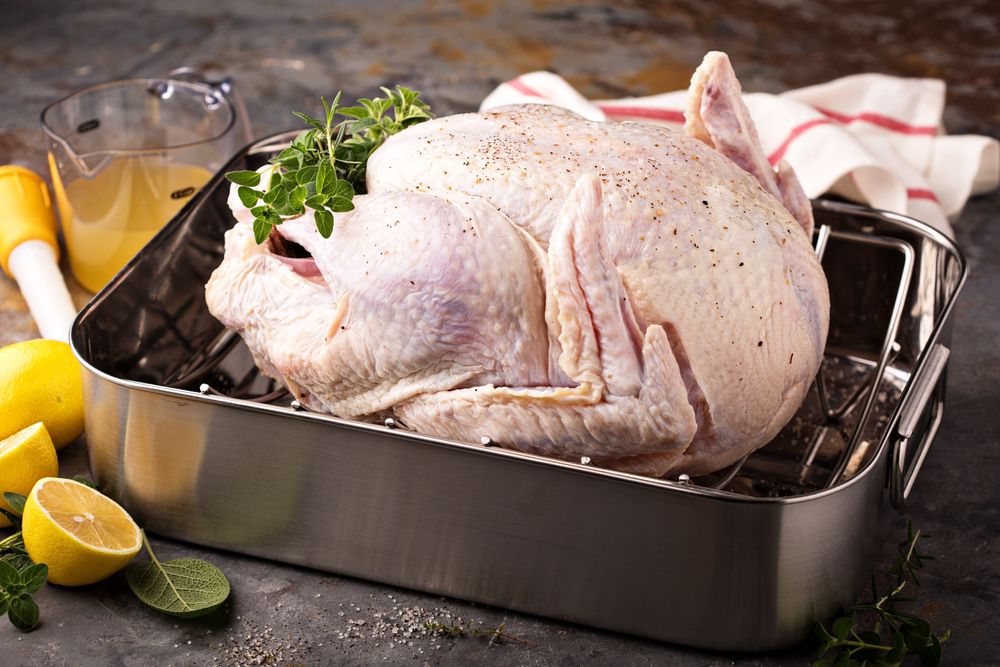
One of the most common Thanksgiving turkey mistakes is underestimating how long it takes to thaw a frozen bird.
Chef Chris Nirschel of NY Catering Service emphasizes the importance of starting with a fully thawed turkey before brining. "It can take several days in the refrigerator, so plan accordingly," he advises.
The USDA recommends allowing about 24 hours of thawing time in the refrigerator for every 4-5 pounds of turkey. That means a larger turkey, around 20 pounds, could require up to 5 days to fully thaw—so timing is everything!
Find the right container for a large volume of brine.
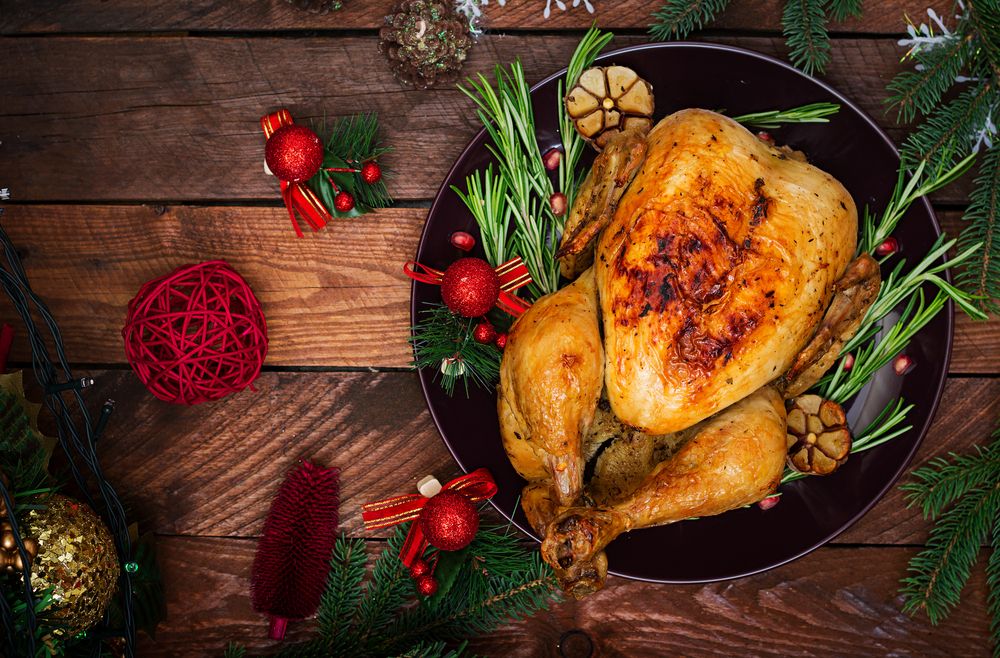
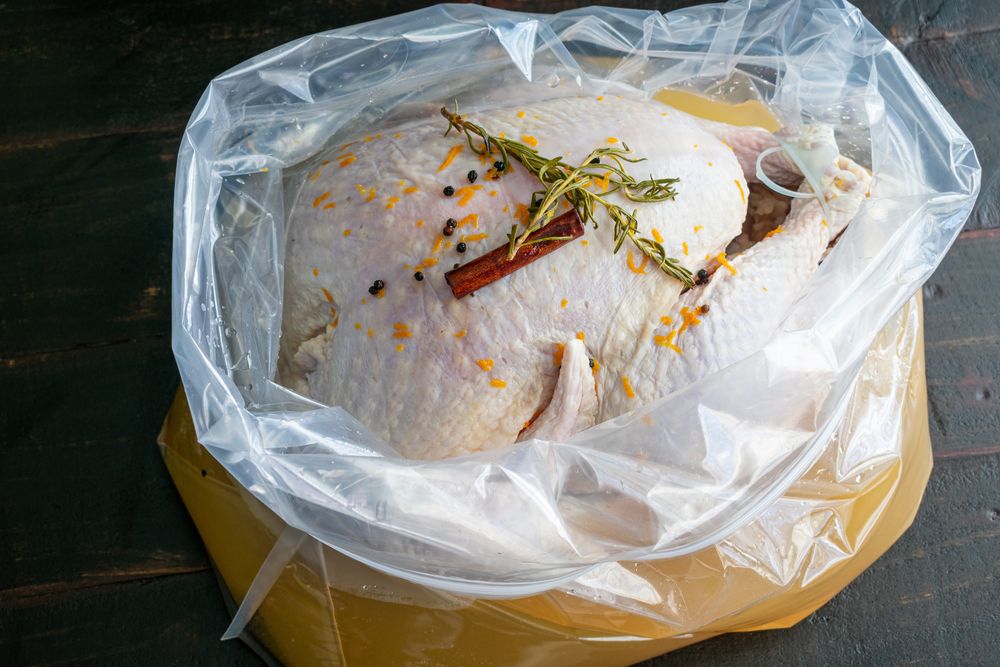
Choosing the right container for brining your turkey is a crucial step in the process. Since brining takes time, you'll need a container that's large enough to fully submerge your turkey in the brine solution yet small enough to fit in your refrigerator.
Chef Michael Handal of the Institute of Culinary Education recommends using a 10-quart pot with tall sides or a brining bag if a pot won’t fit in your fridge. "Your turkey should be completely covered with the brine solution," he explains.
Heidi Diestel, 4th Generation Farmer at Diestel Family Ranch, adds, "Make sure your container fits in the fridge and doesn’t react with the brine, which could cause off-flavors."
For those opting for a dry brine, Chef Thomas Ricci, VP of Culinary Operations at Gobble & Sunbasket, suggests an alternative approach: "Use a turkey bag or place the bird on a large plate, loosely tent it with aluminum foil, and let it rest in the refrigerator for 36-48 hours before cooking." Whatever method you choose, proper planning ensures a perfectly brined turkey!
How to make a brine.
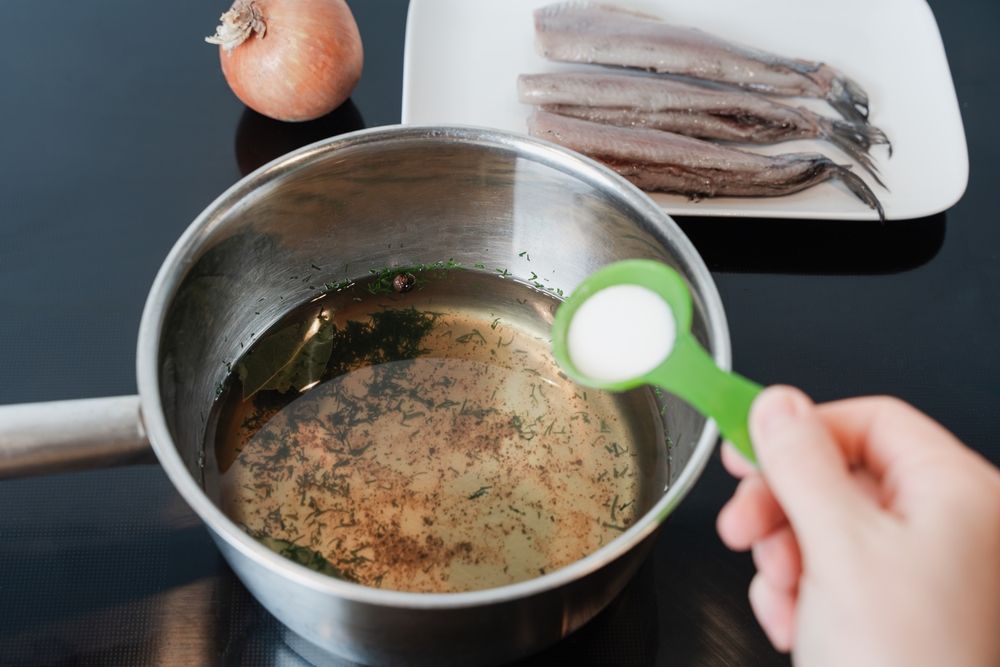
Brining is a simple yet transformative cooking technique. At its core, it involves creating a saltwater solution using 1 cup of salt for every gallon of water.
While a basic brine only requires salt and water, chefs suggest incorporating additional ingredients to elevate the flavor. "Aromatic molecules can embed themselves in the turkey tissue, so the more flavorful your brine, the more those flavors will infuse the meat," explains Erin Miller, executive chef and owner of Urban Hearth.
Basic Brine Recipe
Courtesy of Chef Eric Caron, Corporate Executive Chef at Lombardo's Hospitality Group
- 7 quarts of water
- 1.5 cups of kosher salt
- 0.25 cups of sugar
- Optional flavor boosters: Citrus fruits, carrots, celery, ginger, garlic, sage, rosemary, fennel, coriander, juniper, five-spice blend, and dried chilies.
Instructions:
- Combine all ingredients in a large container, stirring until the salt and sugar dissolve.
- Let the brine rest for 24-48 hours.
- If heating the brine to dissolve the salt and sugar, ensure it has fully cooled before submerging the turkey.
“Cooling the brine completely is crucial to maintaining food safety and ensuring your turkey doesn’t start cooking prematurely,” advises Chef Michael Handal.
Buttermilk Brine Recipe
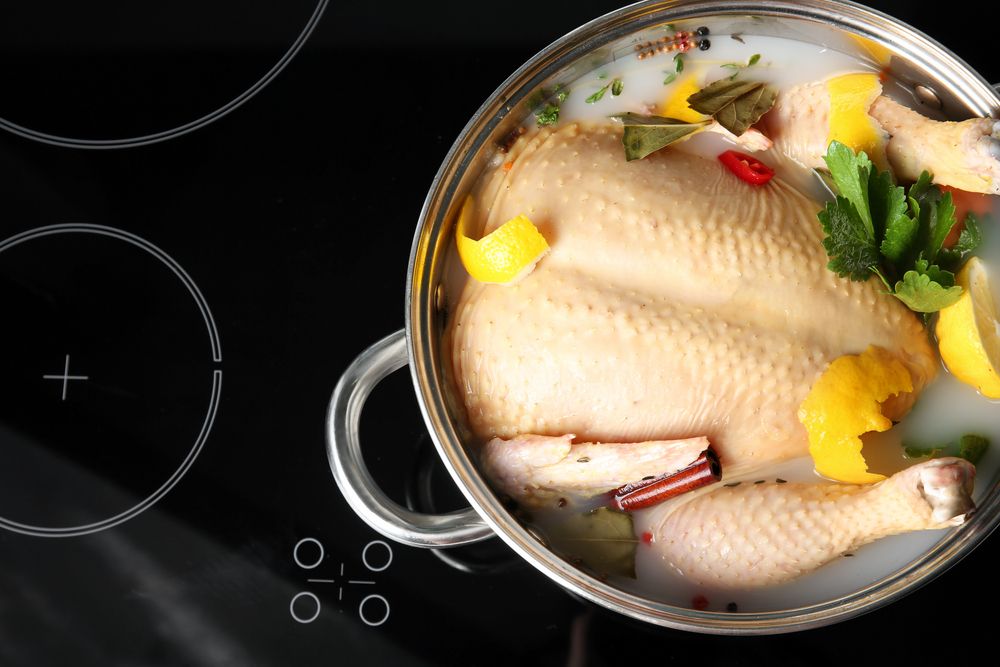
Buttermilk Brine Recipe
Courtesy of Chef Chris Nirschel, NY Catering Service
Ingredients:
- 1 whole turkey (12-14 pounds)
- 2 gallons buttermilk
- 1 cup kosher salt
- 1/2 cup brown sugar
- 1 tbsp black pepper
- 1 tbsp dried thyme
- 1 tbsp garlic powder
- 1 tbsp onion powder
- 1 tbsp paprika
- 1 tsp cayenne pepper (adjust to taste)
- 1 large onion, quartered
- 1 lemon, halved
- 4 sprigs fresh rosemary
- 4 sprigs fresh thyme
- 4 cloves garlic, smashed
Chef Chris Nirschel recommends stepping away from tradition and trying a buttermilk brine for a rich, flavorful turkey. “I like to use a buttermilk brine. While not as conventional, it’s incredibly effective,” he explains.
Instructions:
- In a large mixing bowl, combine the buttermilk, kosher salt, brown sugar, black pepper, dried thyme, garlic powder, onion powder, paprika, and cayenne pepper. Stir until the salt and sugar are completely dissolved.
- Add the onion, lemon, rosemary, thyme, and garlic to the brine for added aromatics.
- Submerge the turkey fully in the buttermilk mixture. Cover and refrigerate for 24-48 hours.
- Before cooking, rinse the turkey to remove excess brine and pat it dry.
This unique brine adds moisture while the buttermilk tenderizes the meat, ensuring a juicy, flavorful centerpiece for your Thanksgiving table!
Dry Brine Recipe
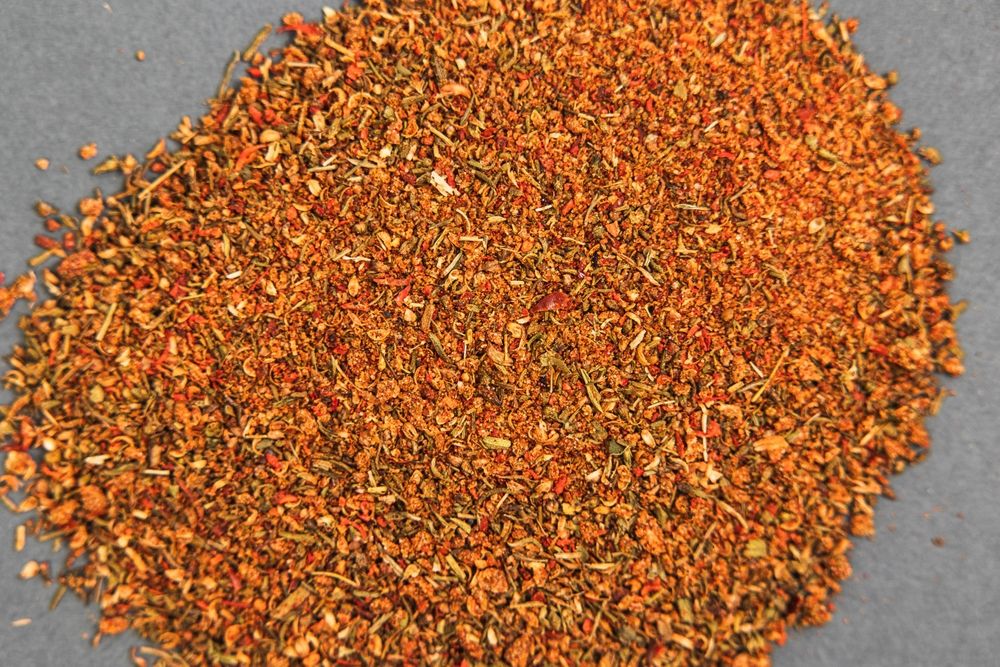
If you're smoking your turkey or simply want a mess-free, low-maintenance option, consider dry brining, recommends Chef Thomas Boemer of Revival.
For a flavorful dry brine, Boemer suggests using your favorite BBQ rub or a blend of kosher salt, granulated garlic, onion powder, black pepper, thyme, sage, and paprika.
“Make sure your turkey is fully thawed and thoroughly patted dry to remove any excess moisture,” Boemer advises. “Season all surfaces generously, including the cavity, the morning before roasting. Leave the turkey uncovered in the fridge overnight. This will slightly dry out the skin, resulting in a crispy, golden-brown exterior.”
Once ready, simply roast as usual. Dry brining not only simplifies the process but also delivers a juicy turkey with a beautifully crisp skin!
Consider separating the bird into parts.
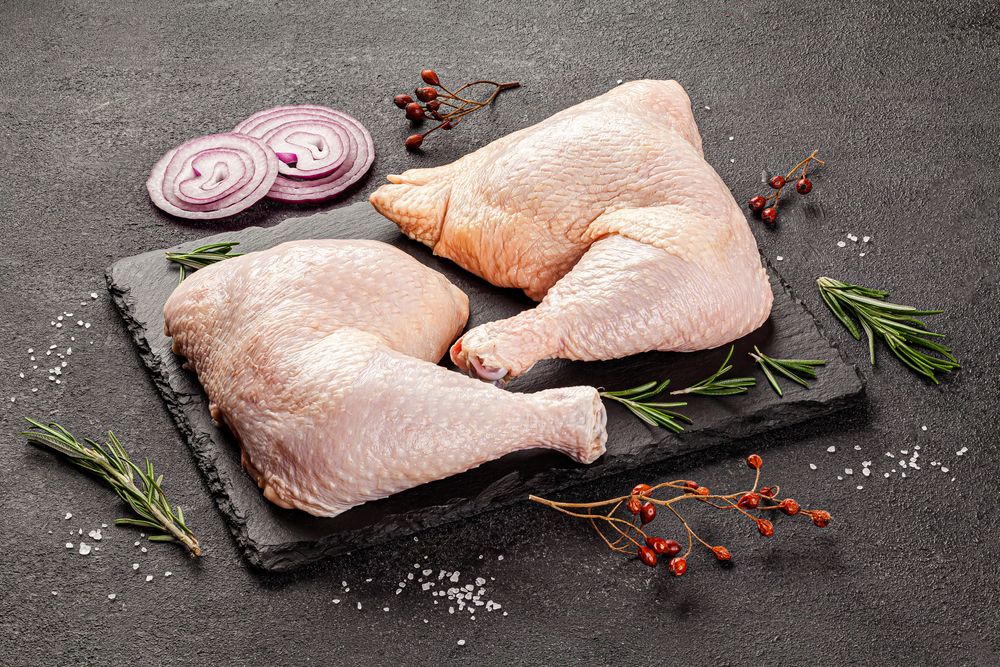
"Turkey breast and leg quarters are so different, they might as well be from separate animals when it comes to cooking techniques," says Erin Miller, executive chef and owner of Urban Hearth. "Trying to cook them together the same way rarely works out well."
Miller explains that turkey breast benefits greatly from brining due to its lean nature, while leg quarters, with their higher fat content and connective tissue, require less brining. In fact, she cautions that brining the legs can dilute their natural flavor. Instead, she recommends seasoning the legs with a heavily salted marinade or a flavorful dry rub.
“After brining the breast, I usually butterfly it, apply a dry spice rub, retie it into a roulade, roast it in the oven, and then bring it back together with the leg at the table,” Miller adds. This method ensures each part is cooked to perfection, delivering a harmonious and flavorful presentation.
Be mindful of the type of salt you use.
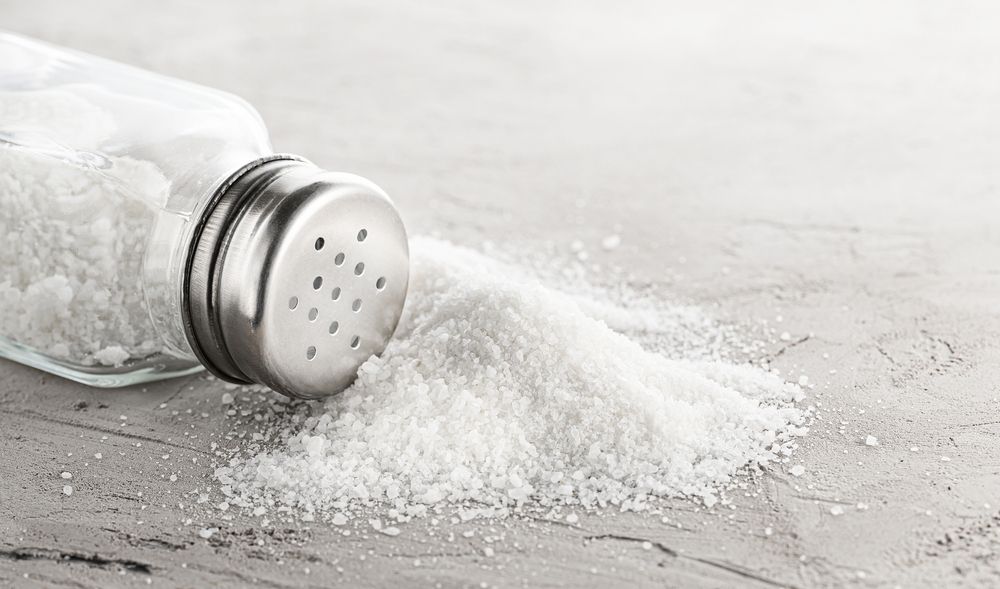
Salt is salt, right? Not quite. According to Chef Michael Handal, it's essential to stick with the specific type of salt called for in your brining recipe.
Kosher salt and sea salt have coarser grains than table salt, which means their volume differs. For example, a tablespoon of kosher salt contains less actual salt than a tablespoon of table salt due to the larger granules. Substituting one for the other without adjusting the measurements can lead to overly salty or underseasoned results.
Another key difference is that kosher salt lacks iodine, a compound found in table salt that can subtly alter the flavor.
"Table salt and kosher salt differ in density, which can lead to drastically different outcomes in your brine," Handal explains. For best results, follow your recipe closely to ensure the perfect balance of seasoning.
Plan to brine at least 12 hours.
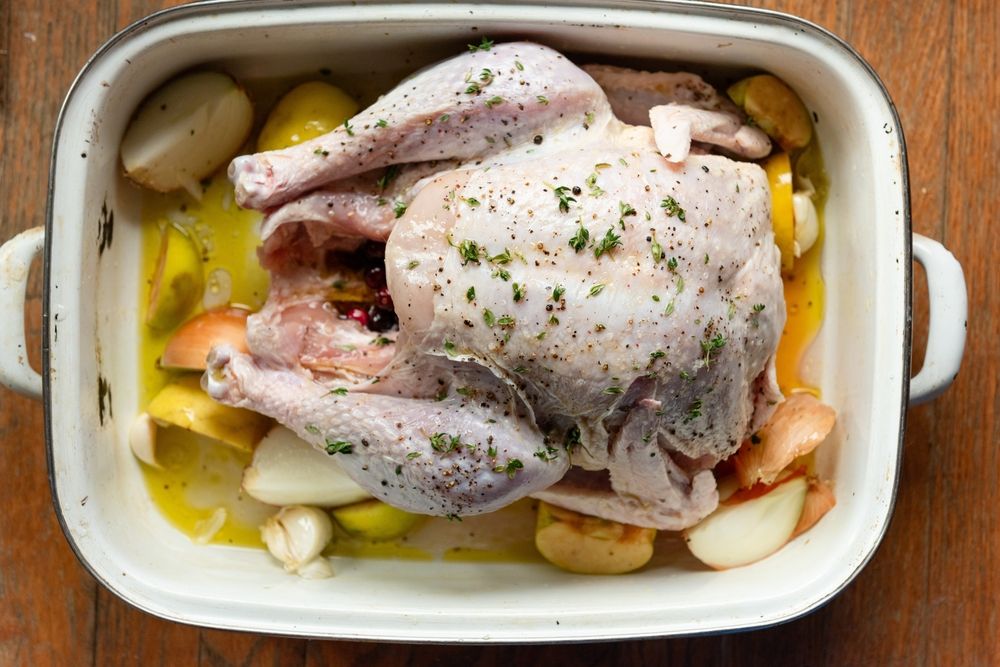
"When you want meat that's seasoned all the way to the bone, time is your best friend," says Brian Jupiter, executive chef at Chicago's Frontier and Ina Mae Tavern. Ideally, Jupiter recommends brining your turkey for 24-48 hours for optimal flavor.
Chef Michael Handal advises aiming for a minimum of 12 hours to ensure the brine works its magic, but cautions against exceeding 48 hours to avoid spoilage.
“If you’re going with the 48-hour method, reduce the salt in your brine by 25% to prevent over-seasoning,” Jupiter suggests. Striking the right balance in time and seasoning is key to a perfectly brined and flavorful turkey.
Don't brine a 'pre-brined' turkey.
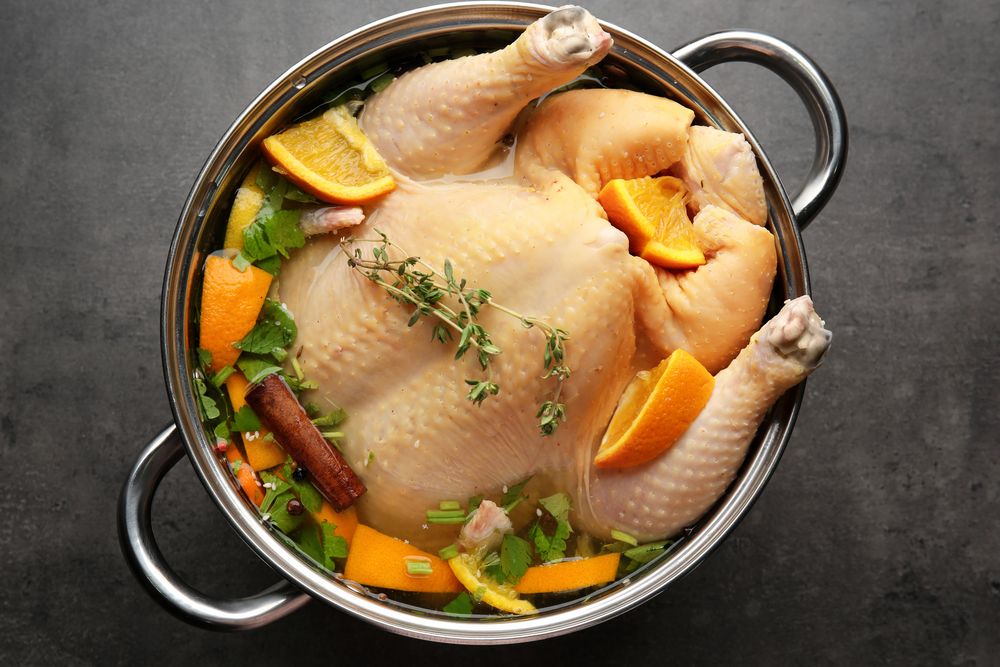
Many people don’t realize that store-bought turkeys are sometimes pre-brined, meaning they’ve been injected with a saltwater solution before being sold.
"Most commodity turkeys are already injected with salt and water, so brining them again isn’t necessary," explains Heidi Diestel of Diestel Family Ranch.
Pre-brined turkeys are often labeled with terms like “kosher,” “basted,” or “self-basted.” Keep an eye out for these keywords when selecting your Thanksgiving turkey to avoid over-seasoning and ensure the best results.

