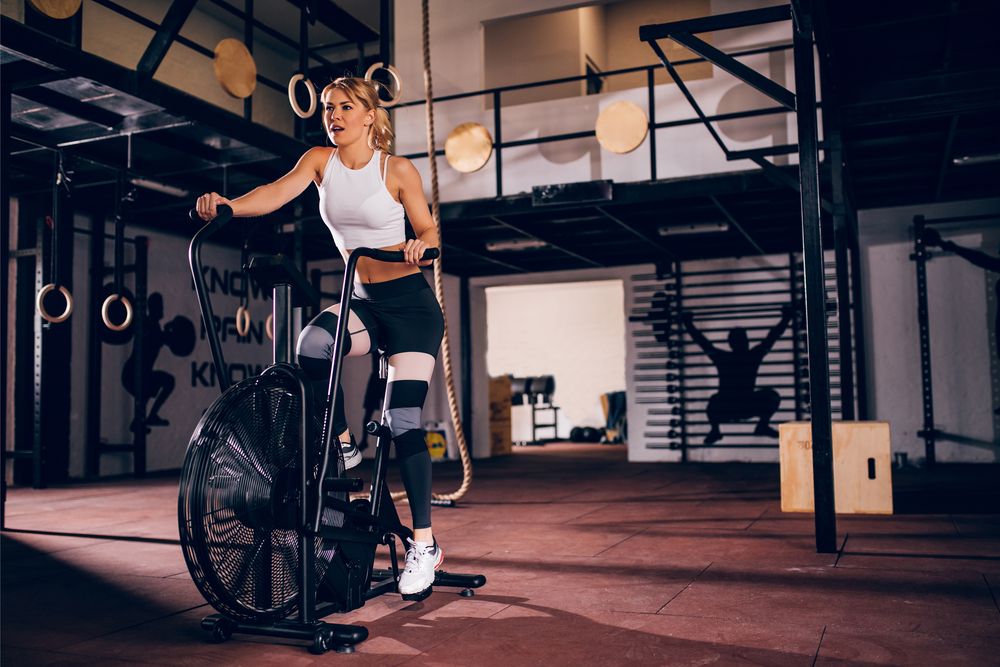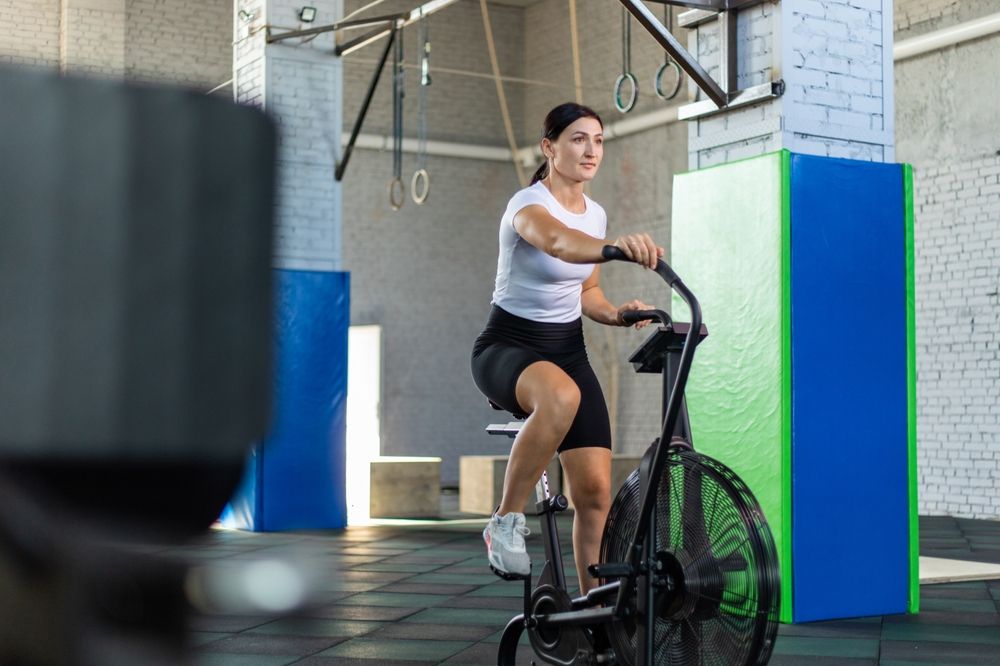
If you're searching for a cardio workout that burns fat and builds endurance, the assault bike is hard to beat. With years of experience coaching athletes, training clients, and working out myself, I've found the assault bike to be a go-to tool for effective, high-intensity weight-loss workouts. Whether you're a seasoned lifter or just starting out, the assault bike challenges you with every drop of sweat.
What I love most about the assault bike is that it delivers a full-body workout without the need for complex movements or overthinking. It's just you and the bike, pushing your limits, pure and simple.
I've relied on the assault bike for conditioning during weightlifting phases, quick fat-loss sessions when I'm short on time, and even while traveling. It’s consistently effective. With my clients, it’s a no-brainer—the assault bike is one of my top tools for helping them get lean and boost their cardio without wasting time.
In this 30-day assault bike workout plan for weight loss, we'll incorporate a variety of intensities and styles to keep things challenging. From steady-state aerobic work to high-intensity anaerobic intervals, we’ll target all the cardio zones. The first two weeks will focus on aerobic conditioning to build your endurance, then we’ll crank up the intensity for the final two weeks. By the end of the month, you’ll be leaner, fitter, and mentally tougher.
Benefits of the Assault Bike for Weight Loss and Fitness

The assault bike is one of the most effective tools for weight loss and overall fitness, thanks to its unique design that combines upper and lower body movements. Here are some key benefits of adding the assault bike to your routine:
Full-Body Workout
Unlike traditional stationary bikes, the assault bike engages your arms, core, and legs simultaneously. This full-body involvement not only burns more calories but also helps accelerate fat loss and build muscle endurance throughout your body.
High-Calorie Burn in Less Time
The assault bike is incredibly efficient for weight loss because it requires a high energy output in a short amount of time. Whether you're doing steady-state cardio or high-intensity intervals, you'll burn calories faster than with most other cardio machines.
Low-Impact, Joint-Friendly
Despite delivering an intense workout, the assault bike is low-impact, making it ideal for those looking to minimize stress on their knees, hips, or ankles. It's a great option for athletes recovering from injury or anyone seeking a joint-friendly cardio solution.
Customizable Intensity
One of the best features of the assault bike is that it's self-regulated—the harder you push, the more resistance you generate. This allows you to adjust the intensity based on your fitness level, making it suitable for both beginners and advanced athletes.
Ideal for HIIT and Fat Loss
The assault bike excels in high-intensity interval training (HIIT), a proven method for burning fat. Short bursts of intense effort followed by recovery periods keep your metabolism elevated, helping you burn calories even after your workout is done.
Builds Mental Toughness and Endurance
The assault bike challenges both your body and mind, forcing you to push through physical and mental barriers. It’s an excellent tool for building endurance and mental resilience, especially during tough interval sessions.
Week 1: Building the Aerobic Base
Day 1: Steady State Cardio Crusher
What You Need: Your assault bike and determination! This 30-minute workout is all about maintaining a steady pace.
The Routine:
- 30 minutes on the assault bike at 60-70% of your maximum effort. You should be able to hold a conversation, but it should still feel challenging.
Directions:
- Start slow for the first 5 minutes to warm up.
- Settle into a steady pace for 20 minutes, focusing on consistent RPMs and controlled breathing.
- Cool down for the final 5 minutes, gradually decreasing your speed.
Day 2: Low-Intensity Interval Training (LIIT)
What You Need: An assault bike, a timer, and water. This 25-minute workout focuses on lower-intensity intervals.
The Routine:
- 5-minute steady warm-up.
- 1 minute of work at 60% effort, followed by 1 minute of rest (repeat for 10 rounds).
- 5-minute cool down.
Directions:
- During the work intervals, focus on maintaining a steady pace rather than sprinting. Keep it sustainable
Day 3: Aerobic Circuit Endurance
What You Need: An assault bike and a timer. This 30-minute workout is designed to build low-intensity endurance.
The Routine:
- 10 minutes of steady-state riding at 65% effort.
- 5-minute recovery ride.
- 10 minutes of steady-state riding at 70% effort.
- 5-minute cool down.
Directions:
- The second 10-minute block should feel slightly more challenging than the first. Adjust your RPMs to match the effort.
Day 4: Active Recovery Ride
What You Need: A light 20-minute ride for active recovery. This is a gentle session to keep your legs moving and reduce muscle soreness.
Directions:
- No intense work here—just keep the pace light and easy for the entire 20 minutes. Focus on recovery rather than pushing hard.
Week 2: Aerobic Work, Slightly Harder
Day 1: Progressive Aerobic Effort
What You Need: Just you and the bike for 35 minutes, gradually increasing your effort throughout.
The Routine:
- 10 minutes at 60% effort.
- 10 minutes at 65% effort.
- 10 minutes at 70% effort.
- 5-minute cool down.
Directions:
Gradually increase your output with each block. The goal is to challenge yourself while avoiding burnout.
Day 2: Steady State with Short Intervals
What You Need: Bike and a timer. This 30-minute workout blends sprints with steady aerobic work.
The Routine:
- 5-minute warm-up.
- 20-second sprint, followed by 40-second rest (repeat for 10 rounds).
- 10 minutes of steady-state riding at 70% effort.
- 5-minute cool down.
Directions:
During the sprints, keep them controlled yet powerful. Focus on short bursts of speed followed by steady aerobic work.
Day 3: Long Ride Aerobic Base
What You Need: 40 minutes on the bike, maintaining a consistent, moderate pace.
The Routine:
- 40 minutes at 65% of your maximum effort.
- No intervals—just hold a steady, challenging pace throughout.
Day 4: Rest Day or Active Recovery Ride
What You Need: Either take a full rest day or do a light 20-minute recovery ride.
Directions:
If you opt for the ride, keep the pace gentle to promote recovery without pushing yourself too hard.
Week 3: Mixing Aerobic and Anaerobic Work
Day 1: Aerobic Intervals
What You Need: A bike and a timer. This 30-minute workout focuses on sustained aerobic intervals.
The Routine:
- 5-minute warm-up.
- 2 minutes at 70% effort, followed by 1 minute of recovery (10 rounds).
- 5-minute cool-down.
Day 2: Anaerobic Sprint Intervals
What You Need: Just the bike for an intense, 20-minute sprint workout.
The Routine:
- 5-minute warm-up.
- 15-second all-out sprint, followed by 45 seconds of rest (10 rounds).
- 5-minute cool down.
Directions:
Give maximum effort during each sprint. You should be breathless by the end of every interval.
Day 3: Tempo Ride with Anaerobic Bursts
What You Need: A timer and your bike for this 30-minute mix of steady-state riding and sprints.
The Routine:
- 10 minutes steady-state at 65% effort.
- 15-second sprint followed by 45 seconds of steady riding (10 rounds).
- 5-minute cool down.
Day 4: Rest or Active Recovery Ride
Week 4: Max Effort and Fat Loss Focus
Day 1: Assault Bike Tabata
What You Need: A timer and determination. This intense workout lasts 16 minutes.
The Routine:
- 5-minute warm-up.
- 20-second all-out sprint, followed by 10 seconds of rest (8 rounds).
- 5-minute recovery.
- Repeat the Tabata set for 2 total rounds.
- 5-minute cool-down.
Directions:
Tabata is quick but intense. Push yourself to the max during the sprints, and use the 10-second rest periods to catch your breath.
Day 2: Long Steady-State Ride
What You Need: A bike and timer for this 45-minute endurance workout.
The Routine:
- 45 minutes at 65% of your maximum effort.
- Focus on maintaining a steady, controlled pace throughout the ride
Day 3: HIIT Assault Bike Madness
What You Need: A timer and water for this high-intensity, 25-minute session.
The Routine:
- 5-minute warm-up.
- 30 seconds of sprinting, followed by 30 seconds of rest (10 rounds).
- 5-minute recovery ride.
- 5-minute cool-down.
Directions:
During the sprints, aim for high effort. The 30-second work intervals should be tough but manageable.

